
Learn · Design Tips
How to Prepare and Export STL and STEP Files for 3D Printing
A good file gets you an accurate quote and a good part, first time. A bad one — wrong units, jagged curves, holes in the mesh — causes delays and reprints. Here’s which format to send and how to export it properly.
Which file format should you send?
| Format | What it is | When to use it |
|---|---|---|
| STEP (.step / .stp) | An exact solid model: true curves, faces and edges, readable by almost all CAD software | Best for quoting and engineering parts. It keeps exact geometry, so we can measure features, make small edits or machine critical surfaces. |
| STL (.stl) | A mesh of triangles approximating the surface — the most widely supported 3D printing format | Fine for most printing. Export at a good resolution so curves stay smooth. |
| 3MF (.3mf) | A modern mesh format that can carry units, colours and materials | Useful for multi-colour or multi-material parts. |
| OBJ (.obj) | A mesh format that can carry colour and texture data | Common for scans and full-colour models. |
| 2D drawing (.pdf) | Dimensions, tolerances, threads and notes | Send alongside your 3D file when some features need tight tolerances, threads or a specific finish. |
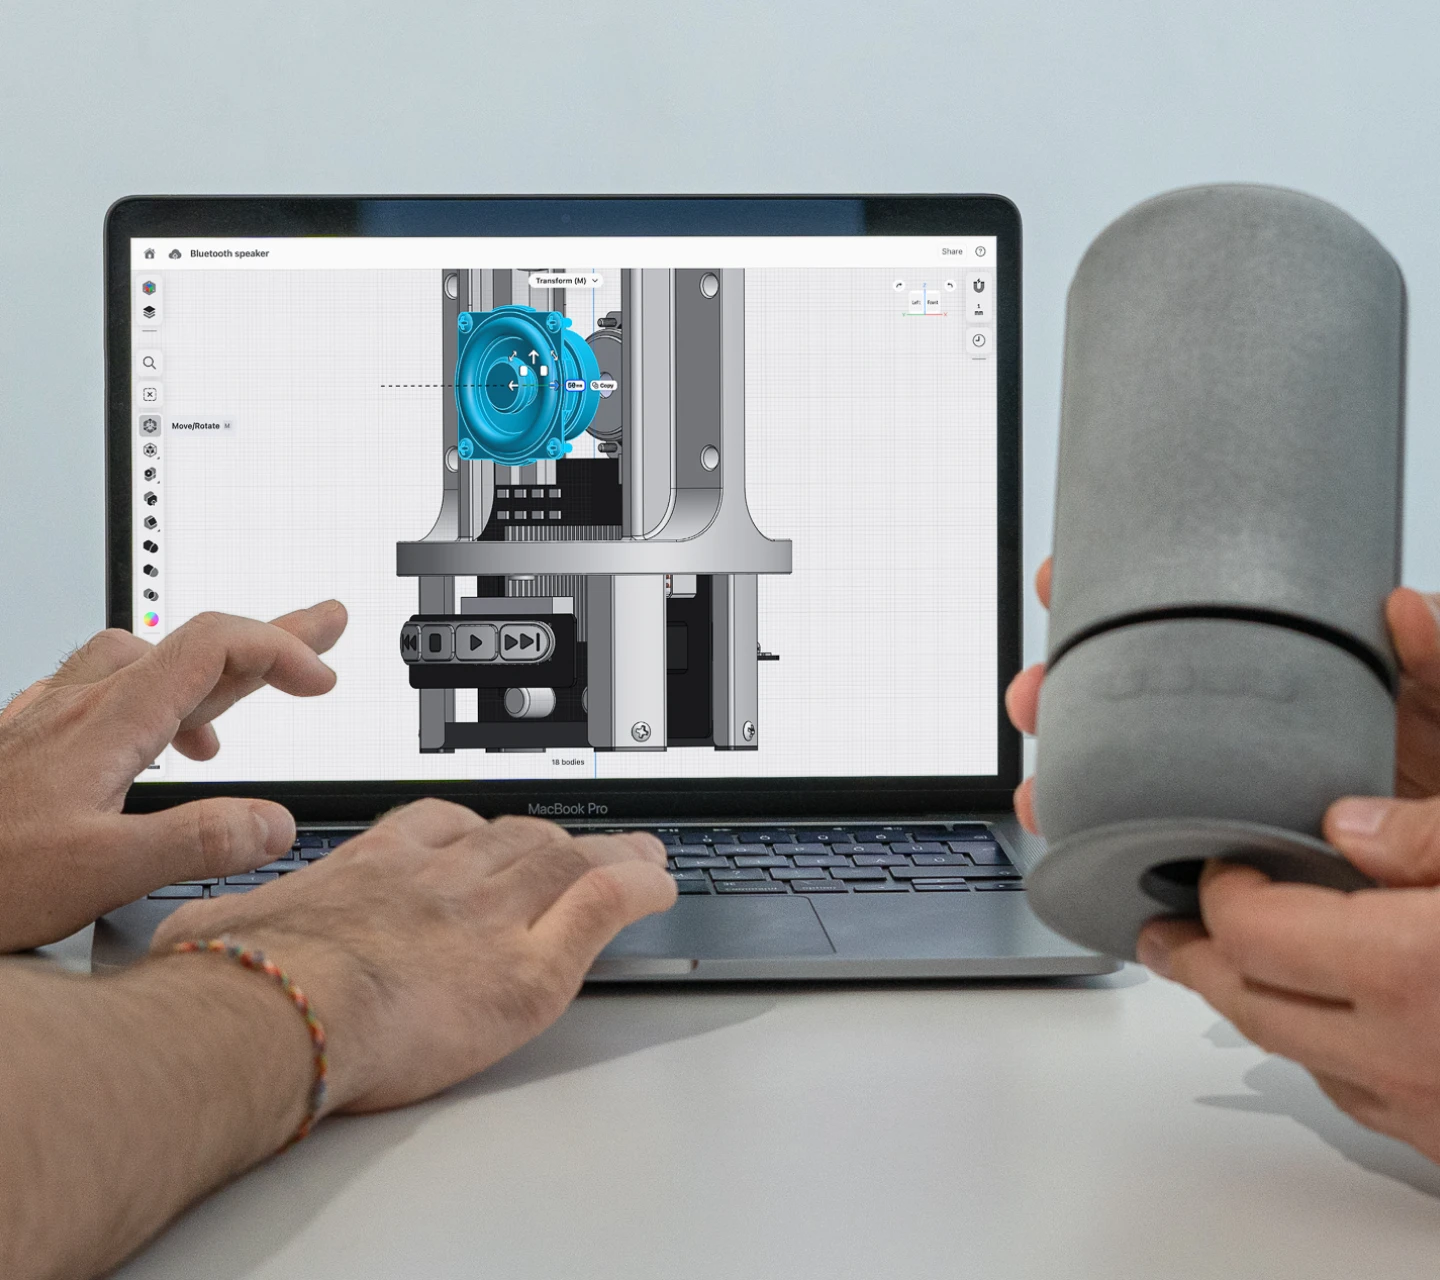
Export checklist
- Set units to millimetres. STL files don’t store units, so a part designed in inches can arrive 25.4 times too small. Export in millimetres, and tell us if you can’t.
- Choose a fine resolution for STL. Most CAD tools offer coarse, fine or custom settings (chord or deviation tolerance and angle tolerance). Too coarse makes curves faceted; excessively fine just makes huge files. “Fine” is right for most parts.
- Export as binary STL. Binary files are much smaller than ASCII with the same geometry.
- One part per file, clearly named. Name files by part and version, for example bracket-v3.step. For assemblies, export each printed part separately unless you want them printed as one piece.
- Remove what shouldn’t print. Hide or delete reference geometry, construction bodies and hardware such as screws before exporting.
- Check the result. Reopen the exported file in a viewer to confirm size, smoothness and that nothing is missing.
Where to find export in common CAD tools
Menu names vary slightly between versions, but you’ll usually find export here:
- SOLIDWORKS: File › Save As, then choose STEP or STL. Use Options to set STL resolution and units.
- Autodesk Fusion: File › Export for STEP; right-click a body › Save As Mesh for STL or 3MF.
- Onshape: right-click the part or Part Studio tab › Export, then choose the format.
- Rhino: select the objects, then File › Export Selected and choose STEP or STL; for STL, set the meshing tolerance when prompted.
- Blender and other mesh tools: File › Export › STL, OBJ or 3MF. Check the unit scale before exporting.
Common file problems and how to fix them
| Problem | What you see | Fix |
|---|---|---|
| Faceting | Curves look like flat segments | Re-export the STL at a finer resolution, or send the STEP file |
| Wrong units | Part is tiny or huge | Export in millimetres, or tell us the units used |
| Holes in the mesh (non-manifold) | Gaps, missing faces or errors in a viewer | Fix the model in CAD so every body is a closed solid, then re-export |
| Overlapping or intersecting bodies | Several shells inside each other | Combine bodies into one solid before export, or export them separately |
| Walls too thin | Features missing or fragile after printing | Thicken walls — see our wall thickness guide |
| Threads lost | Cosmetic threads don’t appear in an STL | Call out threads on a drawing; small threads are usually tapped or fitted with inserts after printing |
What to send with your quote request
- Your 3D file (STEP preferred) and any drawing.
- Quantity.
- Material, or what the part must do — heat, strength, flexibility, food contact, ESD protection.
- Critical dimensions and tolerances.
- The finish you need.
- When you need the parts.
The more detail you share, the more accurate the quote. See what affects the cost of 3D printing.
No 3D file? No problem
If you only have a sketch, a 2D drawing, a photo or a logo, our 2D to 3D conversion and CAD design service can turn it into a print-ready file. If you have a physical part but no drawing, we can 3D scan and reverse engineer it.
Frequently asked questions
Should I send an STL or a STEP file?
Send a STEP file if you have one. It keeps the exact geometry, which makes quoting, measuring and small edits easier. STL files work well for printing too, as long as they are exported at a good resolution and in millimetres.
Why does my STL look faceted?
The STL was exported at a coarse resolution, so curves were approximated with large flat triangles. Re-export with a finer resolution setting, or send the STEP file instead.
Does an STL file store units?
No. STL files store numbers without units, so a model designed in inches can be read as millimetres and come out far too small. Export in millimetres or tell us which units you used.
What if I don’t have a 3D file?
We can create one from a sketch, drawing, photo or logo through our 2D to 3D conversion service, or 3D scan and reverse engineer an existing part.
Ready to send your file?
Share your STEP or STL file, quantity and requirements. We’ll check it and come back with a quote.
Get a QuoteWhatsApp Us