
Learn · Design Tips
Designing Snap-Fits for 3D Printing: A Practical Guide
Snap-fits let parts click together without screws, glue or tools. 3D printing makes them easy to try — and just as easy to get wrong. A few design rules make the difference between a satisfying click and a snapped-off hook.
What is a snap-fit?
A snap-fit is a joint where one part flexes as it is pushed over another, then springs back into a recess to lock in place. Snap-fits are used for battery doors, enclosure lids, clips, covers and fasteners. They cut assembly time, remove separate fasteners, and can be designed to open again — or to stay closed for good.
The three main types
| Type | How it works | Typical use |
|---|---|---|
| Cantilever | A flexible beam with a hook on the end bends, then catches on a ledge | Lids, covers, enclosures — the most common type |
| Annular | A ring-shaped bead snaps into a matching groove all the way round | Caps, round covers, ball-and-socket joints |
| Torsional | A lever twists around a small shaft instead of bending | Latches and catches that are released by pressing one end |
The rest of this guide focuses on cantilever snap-fits, but the same principles apply to the others.
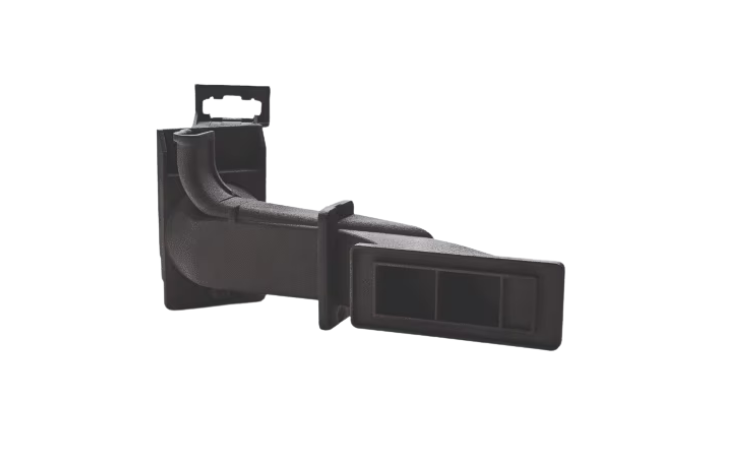
1. Choose a material that can bend
A snap-fit works only if the material can flex and recover. Brittle materials crack at the root of the beam.
- Best choices: PA11 and PA12 nylon (SLS and MJF) — PA11 is the most forgiving for snap-fits used many times. Polypropylene (PP) on SLS is excellent for clips and living hinges.
- Good choices: tough FDM materials such as nylon, PETG and ABS.
- For SLA: use tough or durable resins (such as Tough 1500 or Durable). Standard rigid resins are too brittle for most snap-fits.
- For very soft clips: TPU flexes a lot, but it may not hold parts together firmly.
2. Shape the beam to spread the strain
- Make the beam long enough. A longer beam bends more gently for the same deflection, so it is less likely to crack.
- Taper the beam. Make it thicker at the root and thinner towards the tip. This spreads the bending strain more evenly along its length.
- Add a fillet at the root. The root is where most snap-fits break. A rounded corner where the beam meets the wall reduces stress a lot.
- Keep the hook shallow. The less the beam must bend to pass over the catch, the lower the strain.
3. Set the angles for how the joint should behave
- Lead-in (insertion) angle: a gentle slope on the front of the hook makes assembly easy.
- Retention angle: the back face of the hook controls how hard the joint is to open. A steep, near-vertical face makes a joint that is hard or impossible to release. A sloped face lets it be pulled apart again.
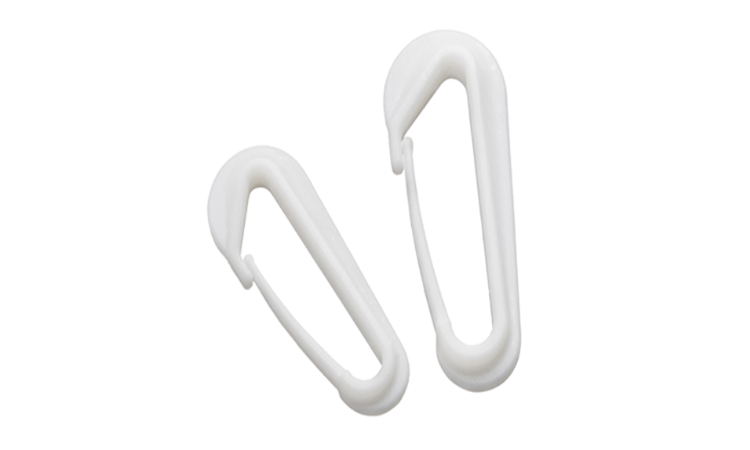
4. Print in the right orientation
In FDM, parts are weakest between layers. If a snap-fit beam is printed standing upright, it bends across its layer lines and can split at the root. Orient the beam so it bends along the layers — usually lying flat on the build plate.
Powder-bed processes are much less sensitive to direction. MJF produces dense parts with uniform mechanical properties in every direction, which makes it a strong choice for snap-fit parts.
5. Design in clearance and test
- Allow for print accuracy. Quick 3D’s prototyping and industrial FDM services achieve ±0.3 mm. Leave enough clearance between mating parts so they fit without forcing, and check the overlap that creates the snap.
- Print a test first. A small test print of just the joint is the fastest way to tune the fit before printing the full part.
- Think about repeated use. Snap-fits opened and closed many times need a forgiving material such as PA11 or PP, and a smaller deflection.
- Watch the wall behind the hook. The catch must be stiff enough not to deform as the beam presses on it — see our wall thickness guide.
- Flexible, tough material
- Long, tapered beam with a fillet at the root
- Gentle lead-in angle; retention angle set for releasable or permanent
- FDM beams printed to bend along the layers
- Clearance for print accuracy, tested with a quick prototype
How Quick 3D can help
Snap-fits often take a couple of iterations to feel right — and 3D printing makes that fast. Send us your design and we’ll recommend the material, process and orientation. If you need help with the design itself, our CAD and DfAM team can design or refine the joint for you. Also see how to prepare your files.
Frequently asked questions
What is the best 3D printing material for snap-fits?
Tough, flexible materials work best. PA11 nylon is especially forgiving for snap-fits used many times, and PA12 and polypropylene (PP) are also excellent. In SLA, use tough or durable resins rather than standard rigid resins.
Why do 3D printed snap-fits break?
Most break at the root of the beam, because the material is too brittle, the beam is too short or too thick, there is no fillet at the root, or — in FDM — the beam was printed so it bends across its layer lines.
Which way should I print a snap-fit in FDM?
Orient the part so the snap-fit beam bends along its layers, usually with the beam lying flat on the build plate. Beams that bend across the layer lines tend to split.
Can a snap-fit be opened again?
Yes, if it is designed to be. A sloped retention angle on the back of the hook lets the joint be pulled apart; a near-vertical angle makes it hard or impossible to open.
Designing parts that click together?
Send us your design. We’ll recommend the right material, process and orientation — or help design the joint.
Get a QuoteWhatsApp Us