
Learn · Processes
Thermoforming with 3D Printed Moulds: A Practical Guide
Trays, covers, panels, packaging and food moulds are often made by thermoforming. Pairing it with a 3D printed mould turns a slow, expensive tooling step into something you can do in days.
What is thermoforming?
Thermoforming shapes a flat sheet of plastic into a 3D part. The sheet is heated until it softens, draped over a mould, and held against it until it cools and keeps the new shape. The excess sheet is then trimmed away.
The most common type is vacuum forming, where air is sucked out from between the sheet and the mould so atmospheric pressure pushes the plastic tightly onto the mould. Pressure forming adds compressed air on the other side of the sheet to press it into sharper corners and finer detail.
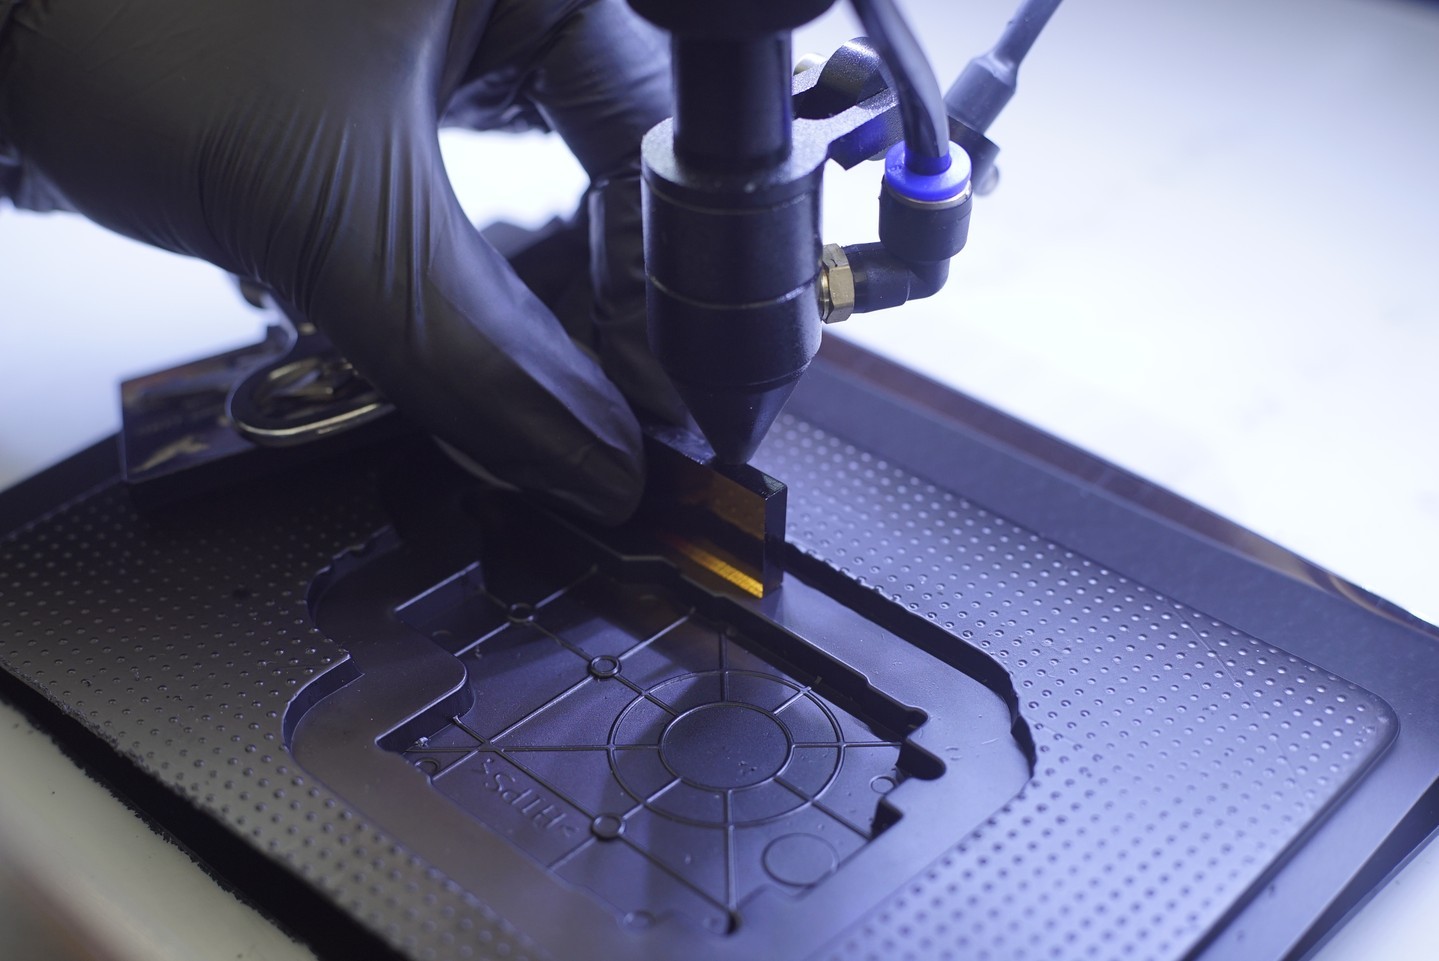
How vacuum forming works, step by step
- Make the mould. The mould is the shape you want, designed with draft angles and small vent holes so air can escape.
- Clamp and heat the sheet. A plastic sheet is clamped in a frame and heated until it sags and becomes pliable.
- Form. The mould is pushed into the soft sheet (or the sheet is lowered onto it) and the vacuum is switched on, pulling the plastic tight against every surface.
- Cool and release. The plastic cools and hardens in its new shape, then is pulled off the mould.
- Trim. The formed part is cut out of the sheet and edges are cleaned up.
Why use a 3D printed mould?
Production thermoforming moulds are often machined from aluminium — accurate and durable, but slow and costly for a design that may still change. A 3D printed mould is a practical alternative when you need:
- Prototypes to test fit, form and packaging before committing to a metal tool.
- Low-volume production runs or one-offs, such as custom trays, covers and fixtures.
- Fast design changes — edit the file and print a new mould.
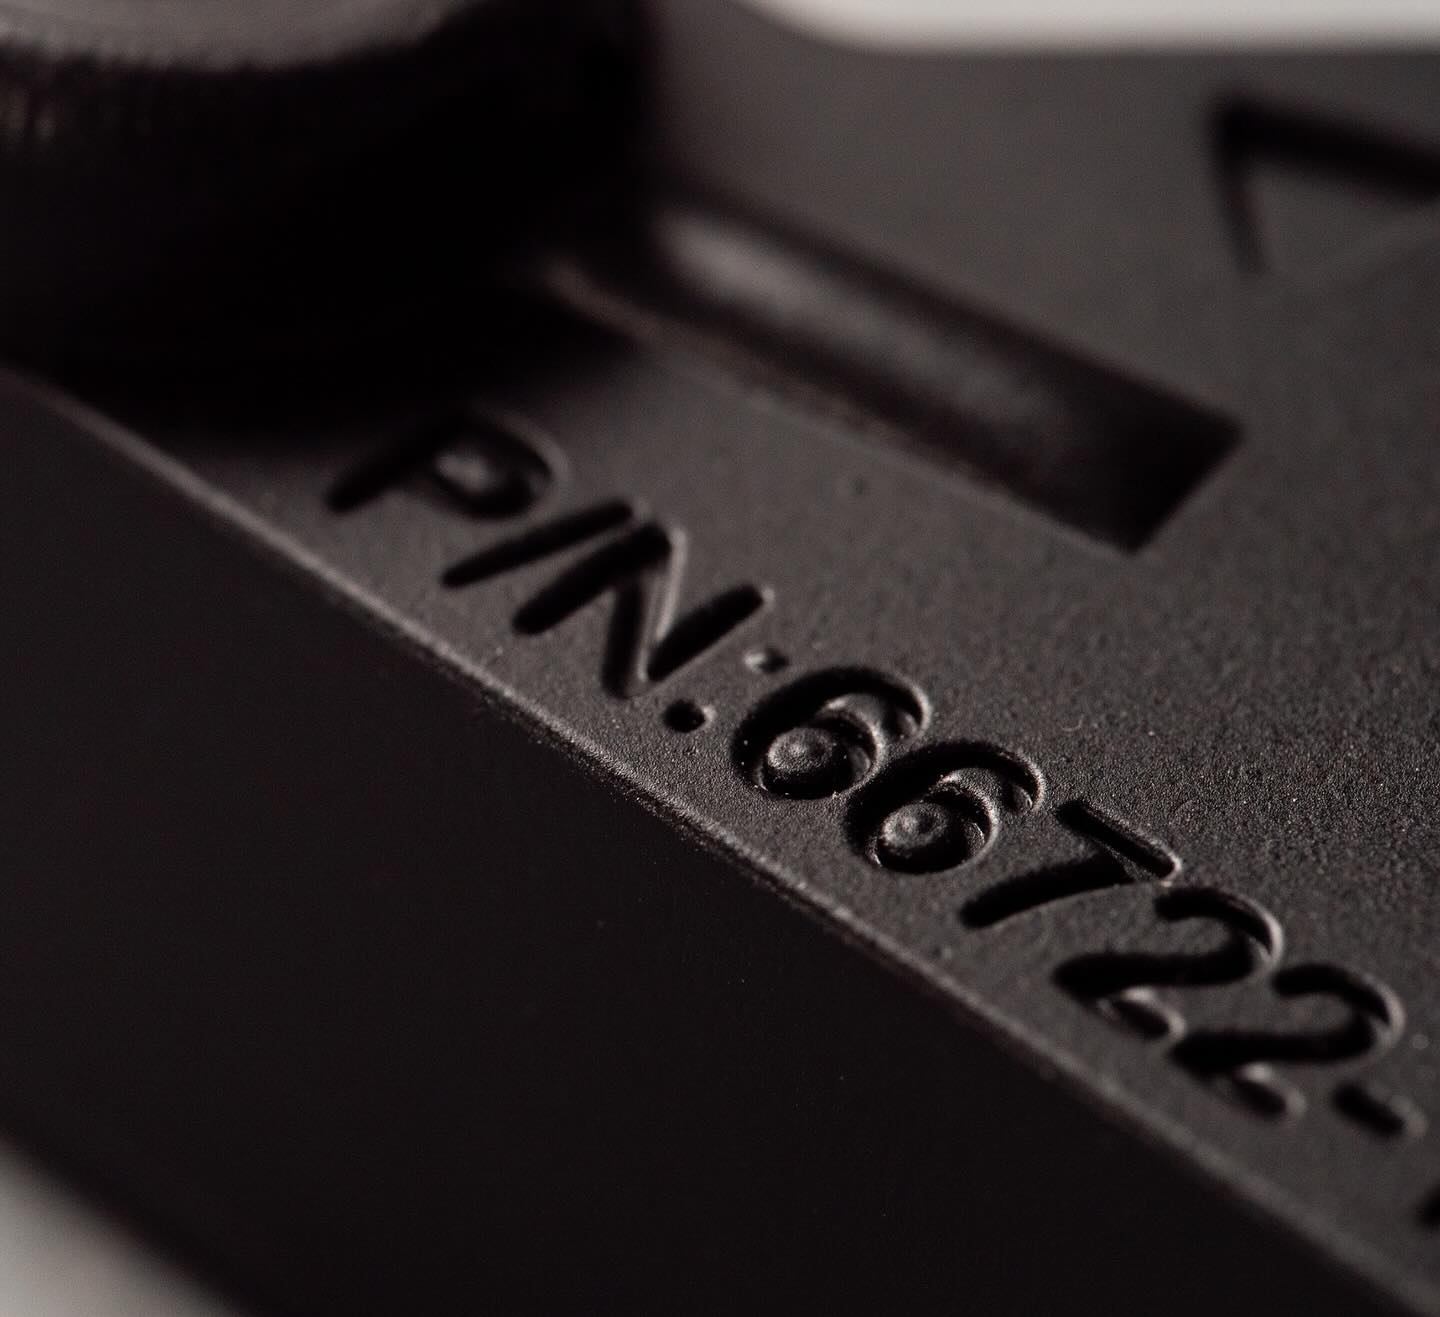
- Complex shapes, embossed text and logos printed directly into the mould, such as a part number on a tray.
Printed moulds do have limits: the mould must withstand repeated heating, so material choice and print settings matter, and very long production runs are still better suited to metal tooling.
Which plastic sheet should you use?
Quick 3D thermoforms a wide range of sheet materials:
| Material | Known for | Common uses |
|---|---|---|
| HIPS | Economical, easy to form | Prototypes, trays, display parts |
| ABS | Tough and impact-resistant | Housings, covers, panels, automotive parts |
| PETG | Clear, tough, forms well | Packaging, guards, food-related trays |
| PVC | Rigid, good chemical resistance | Packaging, blister packs |
| Acrylic | Clear and glossy | Display covers, signage |
| PC | Very strong and clear | Protective covers, guards |
| PE / PP | Chemical-resistant, slightly flexible | Liners, containers, trays |
| EVA | Soft and cushioning | Protective inserts, padding |
| Kydex® | Tough, rigid thermoplastic sheet | Holsters, sheaths, carry cases |
Sheet thickness changes how much detail you get and how stiff the part is. Thinner sheets capture finer detail; thicker sheets give a sturdier part.
Mould design tips
- Add draft. Side walls need a taper so the formed part can be pulled off the mould. Male (positive) moulds need more draft than female (negative) moulds, because plastic shrinks onto them as it cools.
- Avoid undercuts. Features that hook under the sheet will lock the part onto the mould.
- Round corners and edges. Sharp corners thin the plastic and can tear the sheet.
- Watch the depth. Deep draws stretch the sheet thinner; keep depth reasonable compared with the opening width.
- Include vent holes in recessed areas so trapped air can escape and the sheet fully forms.
What is thermoforming used for?
- Food moulds and food-related trays — see our F&B mould service.
- End-use engineering parts such as covers, guards and panels.
- Automotive parts, trim and protective covers.
- Trays, inserts and packaging for handling, storage and display.
How Quick 3D can help
We supply custom thermoformed parts — trays, panels, housings and packaging — for both prototypes and low-volume production, together with the 3D printed moulds to make them. Learn more about our thermoforming service, or compare it with urethane casting for thicker, solid parts.
Frequently asked questions
What is the difference between thermoforming and vacuum forming?
Thermoforming is the general process of heating a plastic sheet and forming it over a mould. Vacuum forming is the most common type, where a vacuum pulls the heated sheet onto the mould.
Can a 3D printed mould be used for vacuum forming?
Yes. 3D printed moulds are well suited to prototypes, one-offs and low-volume runs. The mould material and print settings must be chosen to withstand repeated contact with hot plastic.
What plastics can be thermoformed?
Common thermoforming sheets include HIPS, ABS, PETG, PVC, acrylic, polycarbonate, PE, PP, EVA and Kydex®. The right choice depends on strength, clarity, flexibility and cost.
Is thermoforming suitable for low volumes?
Yes. Because the mould is simple and can be 3D printed, thermoforming is cost-effective for prototypes and low-volume production as well as larger runs.
Have a tray, cover or packaging idea?
Send us your design or sample. We’ll recommend the sheet material, thickness and mould approach for your part.
Get a QuoteWhatsApp Us